
- October 16, 2023
- Posted by: Sahana Ishwarya
- Categories: Cloud Datawarehouse, Data Integration, DevOps, Infrastructure as a Service, Snowflake
Introduction
Managing Snowflake infrastructure is a formidable challenge, involving the provisioning of databases, schemas, sequences, and tables. In this blog, I’ll guide you on streamlining and ensuring consistency using Terraform/DBT as your infrastructure-as-code (IaC) tool. Join me as we create a CI/CD pipeline for Snowflake infrastructure with GitLab, Terraform/DBT, and Visual Studio Code.
Prerequisites
Before you begin, ensure you have the following:
- A Snowflake account with the necessary credentials.
- Visual Studio Code (VS Code) installed on your local machine.
- GitLab account with a repository for your Terraform code.
- Terraform or DBT as an IDE installed on your local machine.
Content Overview
Integrate CI/CD with Terraform
1.1 Create a GitLab Repository
1.2 Install Terraform in VS Code
1.3 Clone the Repository to VS Code
1.4 Set Up Your Terraform Project
1.5 Initialize and Test Your Terraform Configuration
1.6 Configure GitLab CI/CD Pipeline
1.7 Monitor the CI/CD Pipeline
Integrate CI/CD with DBT
2.1 DBT Configuration
2.2 DBT Models
2.3 DBT Tests
2.4 DBT Documentation
2.5 DBT CI/CD Integration
2.6 Artifact Storage
2.7 Automation and Scheduling
Integrate CI/CD with Terraform
Step 1: Create a GitLab Repository
- Log in to GitLab:
Open your web browser and log in to your GitLab account.
2. Create a New Project:
- Click on the “New Project” button or navigate to your profile and click “Your projects.”
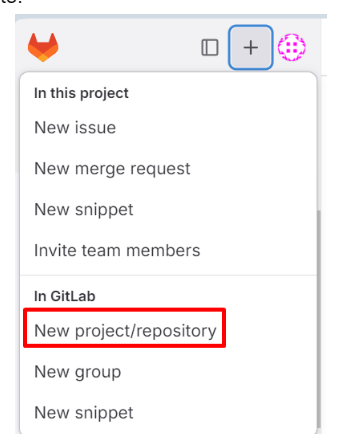
- Choose “Create project.”
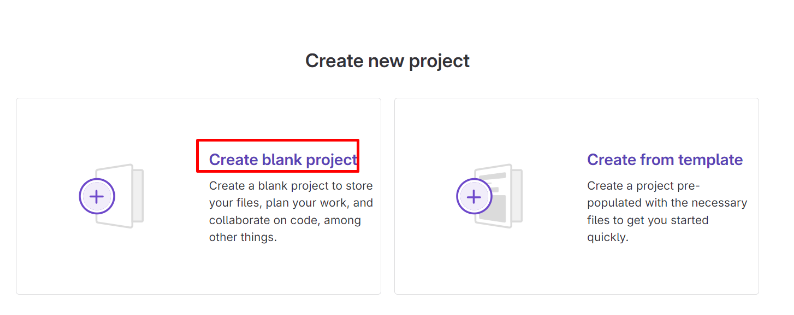
- Select “Blank” project type.
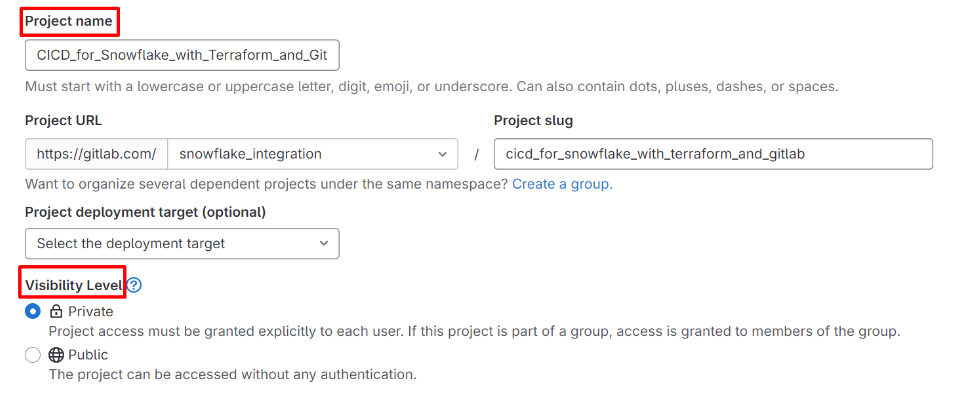
3. Fill in Project Details:
- Provide a project name.
- Choose a visibility level (private or public).
- Add a project description (optional).
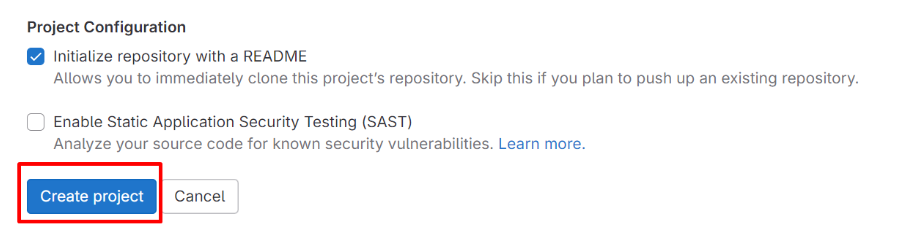
4. Initialize with a README:
Optionally, you can initialize your repository with a README file. This is useful for documenting your project.
5. Create Project:
Click the “Create project” button to create your GitLab repository.
Step 2: Install Terraform in VS Code
If you haven’t already, install the “Terraform” extension in VS Code. You can do this by going to the Extensions sidebar and searching for “Terraform.” Install the one provided by HashiCorp.

Step 3: Clone the Repository to VS Code
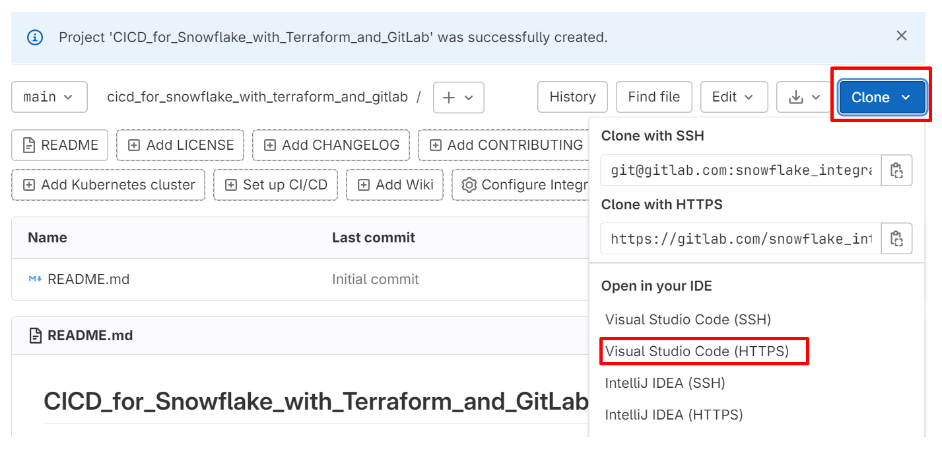
- Access Your Repository:
- After creating the repository, you’ll be redirected to its main page. Note the repository’s URL, which should be something like https://gitlab.com/<your-username>/<your-repo-name>.git
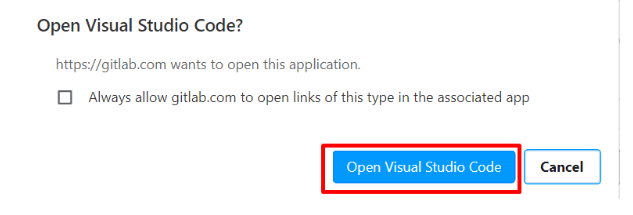
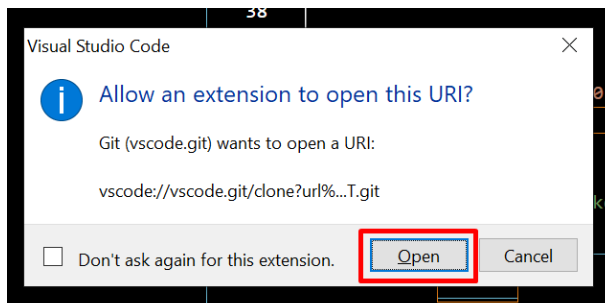
2. Clone the Repository:
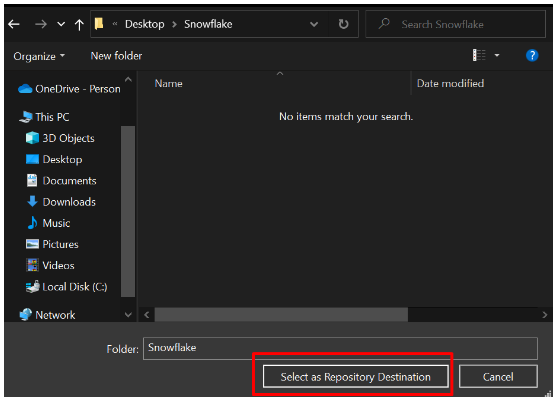
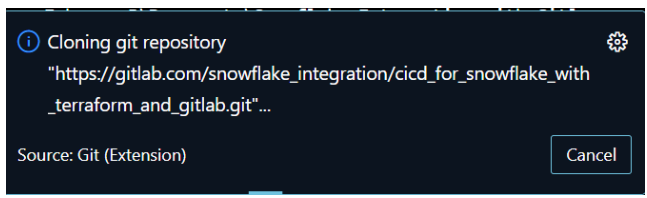
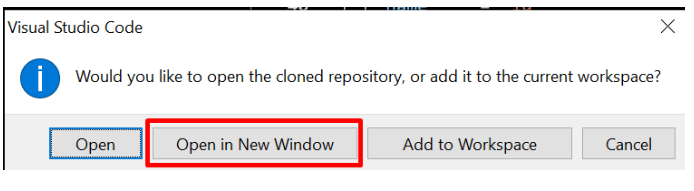
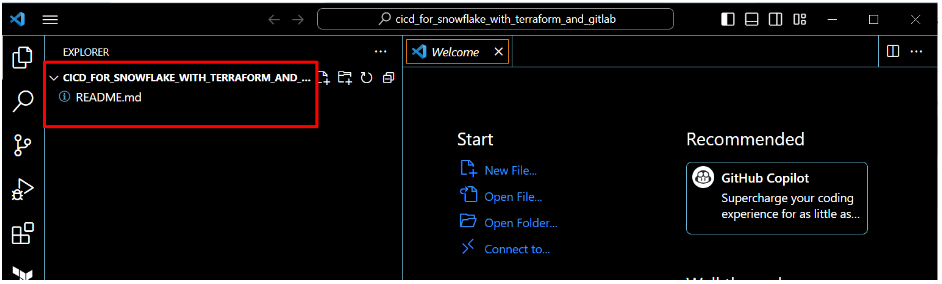
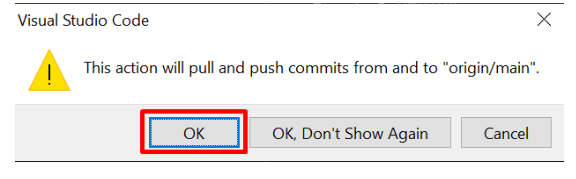
Now you have your GitLab repository cloned and opened in Visual Studio Code, making it easy to work on your Terraform project directly within the editor. You can make changes, commit them, and push them back to the GitLab repository using the integrated Git features in VS Code.
Step 4: Set Up Your Terraform Project
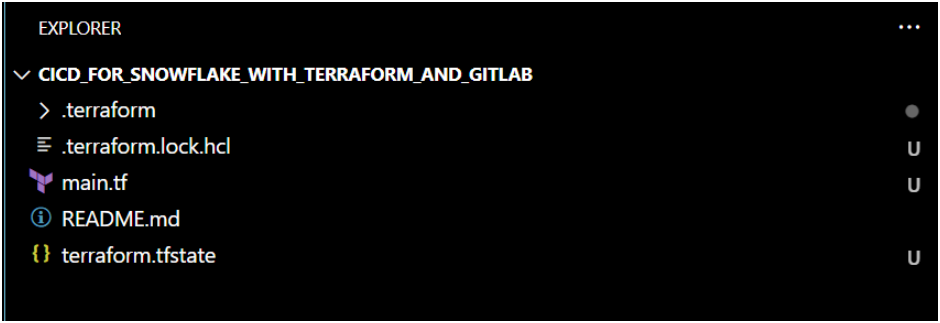
Create the configuration files ‘main.tf’ inside the directory to define your Snowflake infrastructure. This Terraform code defines the infrastructure-as-code (IaC) for Snowflake databases, schemas, sequences, and tables.
main.tf
- Terraform Block:
terraform {
required_providers {
snowflake = {
source = “Snowflake-Labs/snowflake”
version = “0.71.0”
}
}
}
This block specifies the required Snowflake provider and its version.
2. Provider Block:
provider “snowflake” {
account = “snowflake_account”
username = “snowflake_username”
password = “snowflake_password”
region = “snowflake_region”
role = “snowflake_role”
warehouse = “snowflake_warehouse”
}
The provider block configures the Snowflake provider with your Snowflake account details, including account name, username, password, region, role, and warehouse. This information is used to authenticate and connect to Snowflake. Make sure to replace the placeholders with your Snowflake account details.
3. Resource Block:
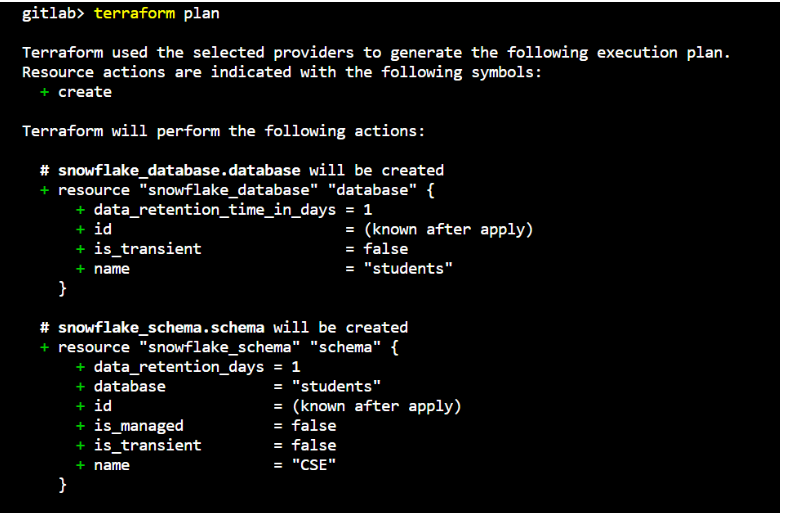
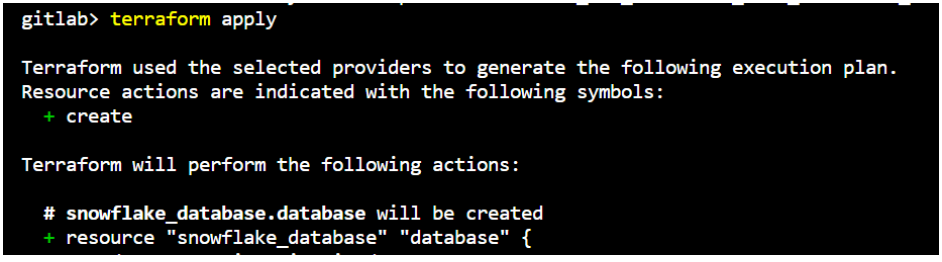
resource “snowflake_database” “database” {
name = “students”
}
resource “snowflake_schema” “schema” {
database = snowflake_database.database.name
name = “CSE”
}
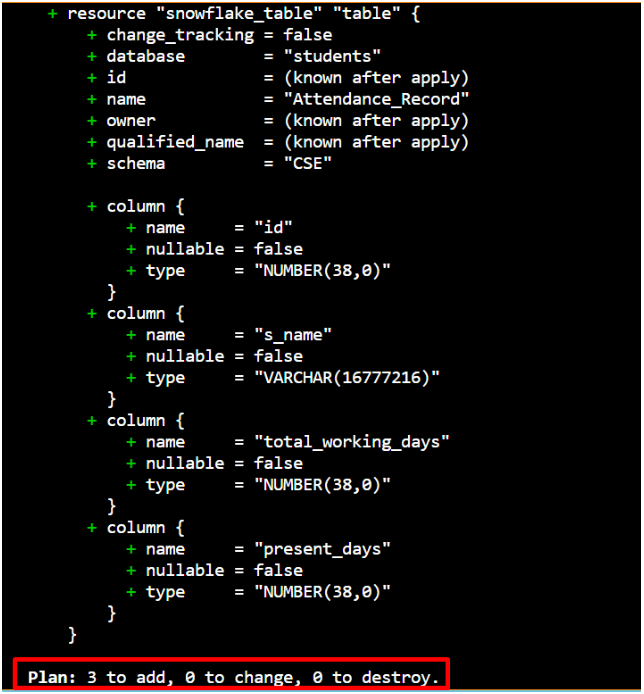
resource “snowflake_table” “table” {
database = snowflake_schema.schema.database
schema = snowflake_schema.schema.name
name = “Attendance_Record”
# Columns and their definitions go here. Sample:
# column {
# name = “id”
# type = “NUMBER(38,0)”
# nullable = false
# }
}
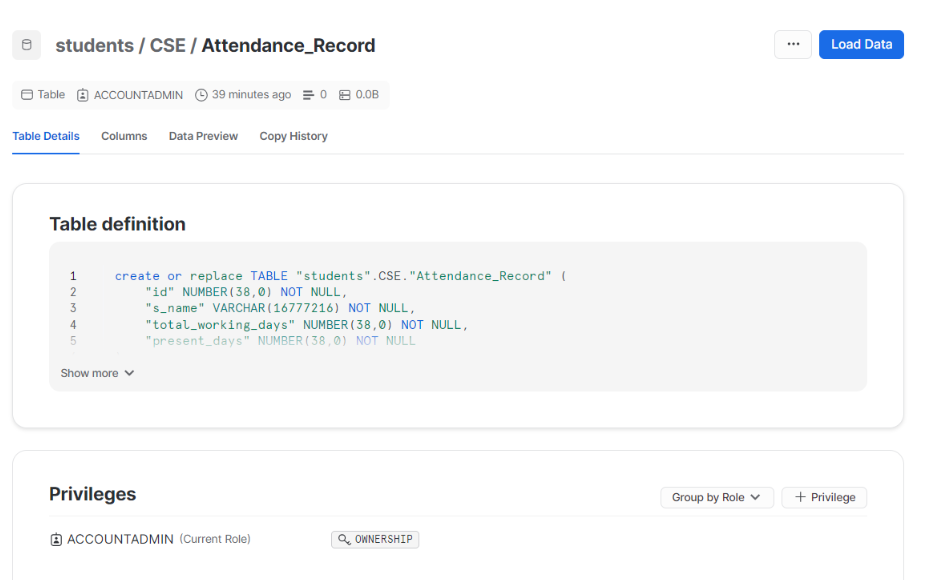
This block defines a Snowflake table named “Attendance_Record” within the “CSE” schema of the “students” database. You can add column definitions within this block, but they are currently commented out.
Step 5: Initialize and Test Your Terraform Configuration
Open a terminal in VS Code and navigate to your Terraform project directory.
To make this Terraform configuration effective, follow these steps:
- Ensure that you have the Snowflake Terraform provider version “0.71.0” available and installed.
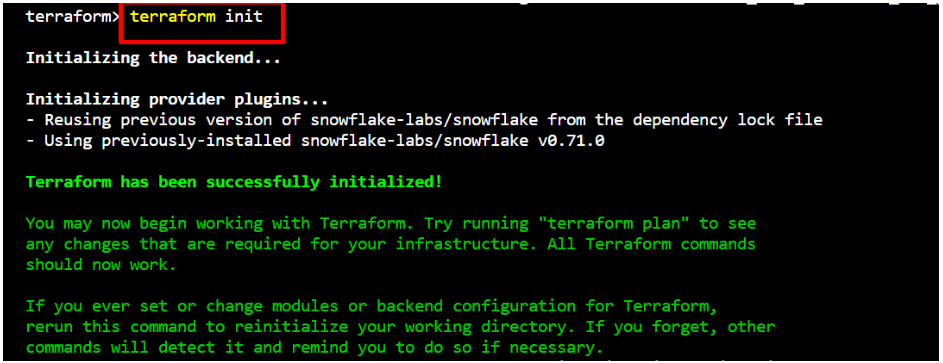
- Initialize your Terraform project: terraform init
This command initializes a Terraform working directory by downloading the necessary provider plugins and modules specified in your configuration files (main.tf).
3. Maintain a clean and readable codebase: terraform fmt
This command automatically formats your Terraform configuration files to adhere to a consistent style and indentation.

4. Preventing issues with early error detection: terraform validate
This command checks your Terraform configuration files for syntax errors and validates them against the configured providers, ensuring that your code is correctly structured and references valid resources.

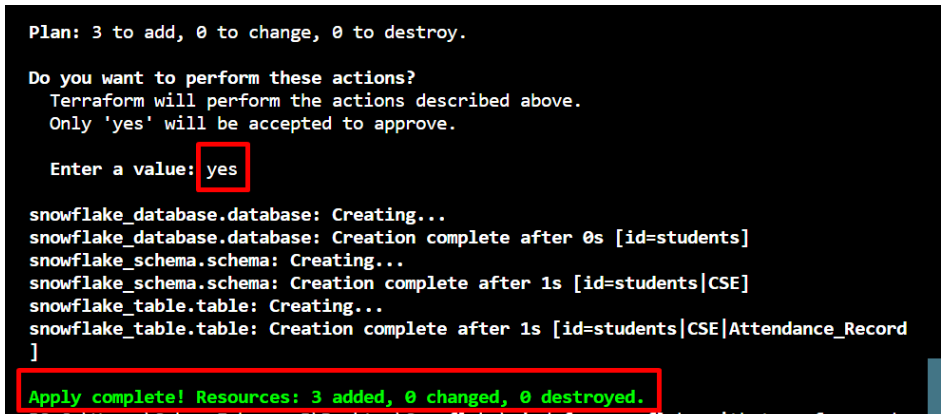
5. Review and validate your Terraform plan: terraform plan
This command generates an execution plan based on your Terraform configuration. It doesn’t make any changes to your infrastructure but shows you what changes Terraform will apply when you run ‘terraform apply’.
6. Modify your infrastructure according to your Terraform code: terraform apply
This command applies the changes specified in your Terraform configuration to create, update, or delete snowflake resources in your infrastructure. It executes the changes outlined in the plan generated by ‘terraform plan’.
Please note that this Terraform configuration only defines the infrastructure. You may need to uncomment and modify the column definitions, primary keys, and other settings in the snowflake_table resource according to your specific requirements for the “Attendance_Record” table. Additionally, make sure to protect sensitive information such as passwords and access keys using Terraform variables (eg: ‘variables.tf’ and ‘terraform.tfvars’) or other secure methods.
Step 6: Configure GitLab CI/CD Pipeline
In your GitLab repository, create a .gitlab-ci.yml file in the root directory. This file defines your CI/CD pipeline. The pipeline is built with stages for formatting, validating, building, deploying, and cleaning up Terraform configurations related to Snowflake resources.
.gitlab-ci.yml
include:
– template: Terraform/Base.gitlab-ci.yml # sets up the necessary environment for Terraform operations
– template: Jobs/SAST-IaC.gitlab-ci.yml # check for vulnerabilities and compliance issues
stages:
– validate
– test
– build
– deploy
– cleanup
fmt:
extends: .terraform:fmt
needs: []
validate:
extends: .terraform:validate
needs: []
build:
extends: .terraform:build
environment:
name: $TF_STATE_NAME
action: prepare
deploy:
extends: .terraform:deploy
dependencies:
– build
environment:
name: $TF_STATE_NAME
action: start
Please customize this .gitlab-ci.yml file according to your specific project and security requirements. Replace $TF_STATE_NAME with your actual Terraform state file name or location if needed.
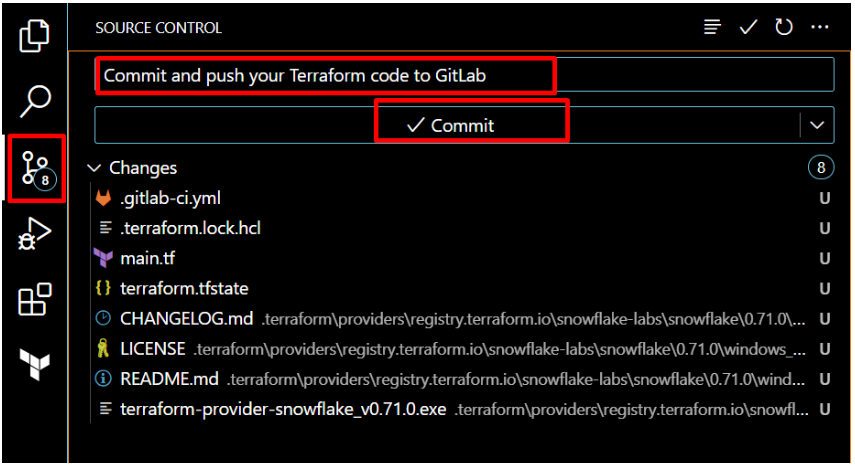
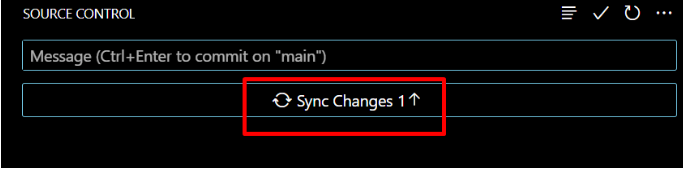
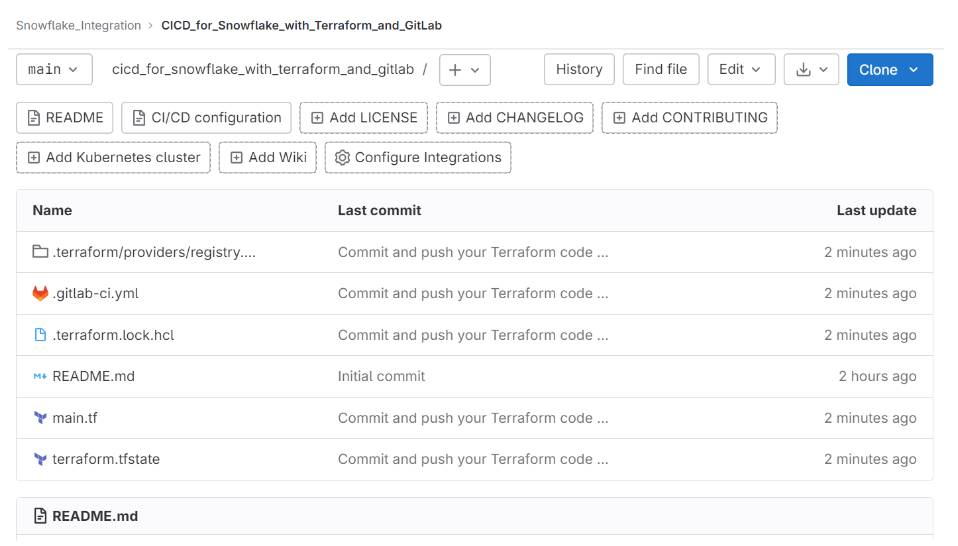
Add, commit, and push the .gitlab-ci.yml file to your GitLab repository.
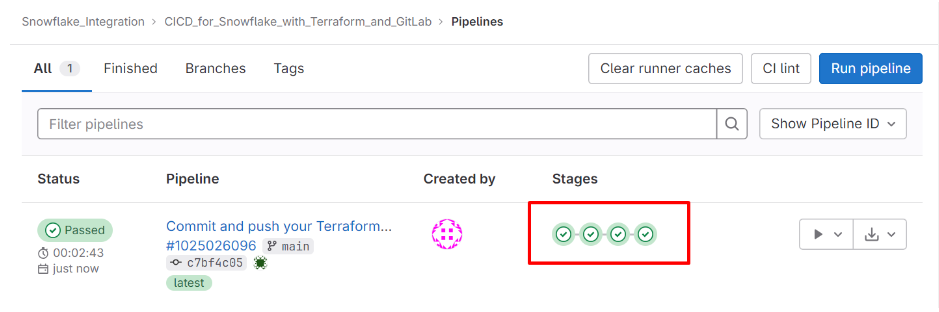
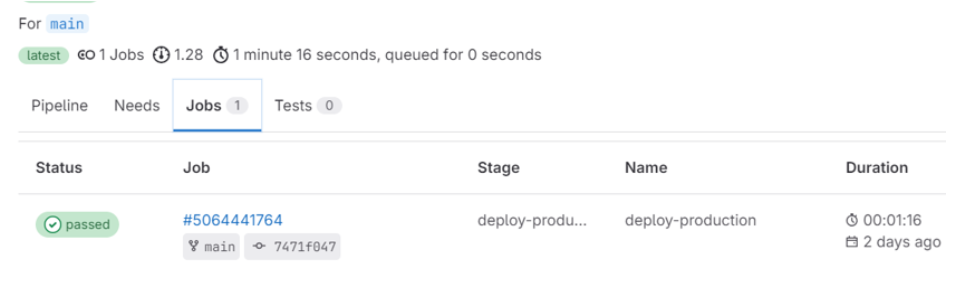
Step 7: Monitor the CI/CD Pipeline
Go to your GitLab project’s CI/CD pipeline section to monitor the progress of your pipeline. It will automatically run whenever you push changes to the main branch.
Now, you can see the created database, schema, and table in Snowflake.
You can set up a GitLab CI/CD pipeline with GitLab-managed Terraform state for remote storage, allowing you to store and access the latest details of your infrastructure deployments centrally within GitLab. Make sure to configure the backend settings accordingly in all stages that involve Terraform operations.
Integrate CI/CD with DBT
Step 1: DBT Configuration
- Create CI/CD Environmental Variables in GitLab for Snowflake Connection Details:
- In your GitLab project, set up CI/CD environment variables to securely store Snowflake connection details, including the Snowflake account, database name, password, role, schema name, username, and warehouse name. These variables will be used in your CI/CD pipeline for DBT.
2. Create the profiles.yml File:
- Create a profiles.yml file to define your DBT profiles. This file specifies connection details and settings for different target environments (e.g., development, production). Here’s a sample profiles.yml based on your provided configuration:
dbt_gitlab:
outputs:
dev:
account: <Snowflake Account>
database: <Database Name>
password: <Password>
role: dbt_dev_role
schema: <Schema Name>
threads: 5
type: snowflake
user: <Username>
warehouse: <Warehouse Name>
target: dev
Customize this file with your Snowflake connection details.
3. Create gitlab-ci.yml File:
In your GitLab project, create a .gitlab-ci.yml file to define the CI/CD pipeline and run DBT scripts. Here’s a sample .gitlab-ci.yml based on your provided script:
stages:
– deploy-production
.dbt_run: &dbt_jobs
image: python:3.8.1-slim-buster
before_script:
– apt-get update
– apt-get dist-upgrade -y
– apt-get install -y –no-install-recommends git make ca-certificates libpq-dev libicu-dev pkg-config gcc build-essential
– pip install dbt-snowflake==1.5.1
– export CI_PROFILE_TARGET=”–profiles-dir . –target ${TARGET_NAME}”
– echo $CI_PROFILE_TARGET
.deploy:
<<: *dbt_jobs
script:
– dbt deps $CI_PROFILE_TARGET
– dbt run $CI_PROFILE_TARGET
deploy-production:
extends: .deploy
stage: deploy-production
variables:
TARGET_NAME: dev
when: always
This .gitlab-ci.yml file defines a deploy job that runs DBT commands using the specified profile target. Customize the TARGET_NAME variable with your target environment.
Step 2: DBT Models
Develop DBT models that define your data transformations and analytics logic. These models will interact with your Snowflake data warehouse.
Step 3: DBT Tests
Implement DBT tests to validate the quality of your data transformations and ensure that they meet your business requirements.
Step 4: DBT Documentation
Leverage DBT’s documentation features to generate and maintain data dictionaries, lineage, and metadata for your data models.
Step 5: DBT CI/CD Integration
In your GitLab CI/CD pipeline, create jobs and stages to run DBT commands, such as dbt run and dbt test, as well as documentation generation. Ensure that these jobs are coordinated with your Snowflake infrastructure changes.

Step 6: Artifact Storage
Store DBT artifacts, such as data models and documentation, for future reference and auditing. Consider integrating a solution for storing these artifacts, such as GitLab’s built-in artifact storage or cloud-based storage services.
Step 7: Automation and Scheduling
Optionally, schedule regular DBT runs in your CI/CD pipeline to automate data transformations and keep your analytics data up to date.

Conclusion
By following this blog, you’ve created a CI/CD pipeline for managing Snowflake infrastructure using Terraform or DBT, GitLab, and Visual Studio Code. This pipeline ensures that your Snowflake resources are provisioned consistently and automates the deployment process. You can extend this pipeline to include more complex infrastructure setups and customize it to suit your specific needs. With infrastructure as code and CI/CD automation, you can efficiently manage and scale your Snowflake environment, making it easier to adapt to changing data and analytics requirements.
Thanks to Nivetha and Dinesh Babu for their assistance in the blog content.
By Sahana
Cittabase Specialializes in modernized data platform implementations. Feel free to reach out for any of your Snowflake implementations.