
- March 4, 2024
- Posted by: Geetha S
- Categories: Airbyte, Snowflake
Introduction:
Airbyte, one of the leading open- source platforms facilitating data integration and ELT processes, is designed to simplify the process of moving and managing data across various sources. With its user-friendly interface and extensibility, Airbyte enables seamless data integration, making it an ideal choice for businesses seeking efficiency and flexibility in handling diverse datasets.
Snowflake is a cloud data platform that offers a single, integrated solution for a data interchange, data lake, and warehouse. Snowflake offers high performance, security, querying structured and semi-structured data at any scale.
Shopify is a popular eCommerce platform that enables businesses to create their online stores with ease and finesse.
This blog helps one to set up data integration pipeline for extracting data from Shopify and load into Snowflake using Airbyte.
Prerequisites:
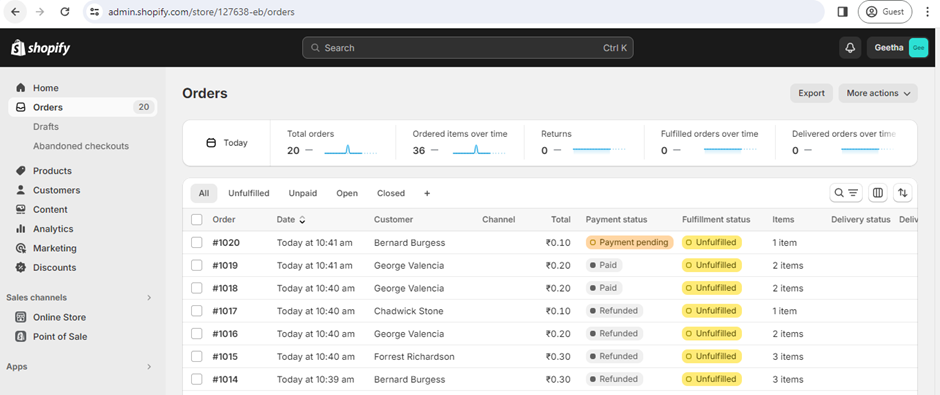
Active store in Shopify:
We require an active store in Shopify. For this use case, we created a trial account in Shopify. A store is set up using the link -> https://admin.shopify.com/ and generated sample data using the link -> https://apps.shopify.com/simple-sample-data.
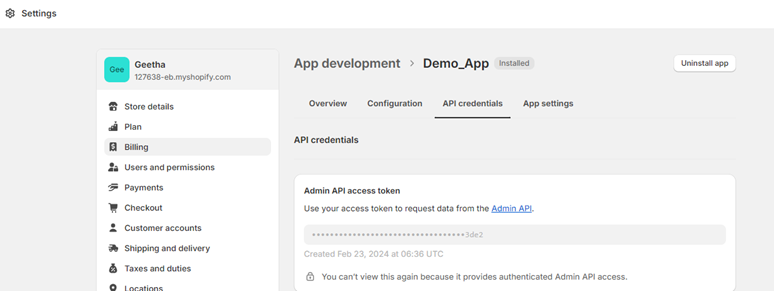
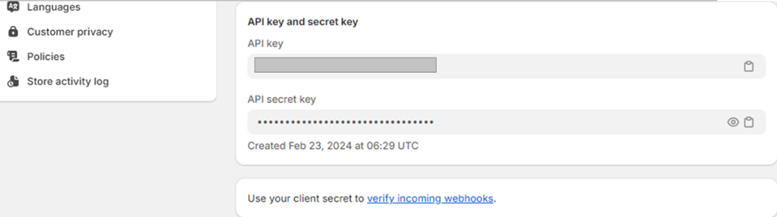
Generate API Key:
To enable interaction between Shopify and Airbyte, Generate an API Key in Shopify, which is used to authenticate Airbyte. Below are the steps to generate the key.
- Log in to the Shopify account.
- In the dashboard, navigate to Settings > App and sales channels > Develop apps > Create an app.
- Select a name for the new app.
- Select Configure Admin API scopes.
- Grant access to scopes prefixed with
read_, notwrite_(e.g.read_locations,read_price_rules, etc ). - Click Install app to give this app access to the data.
- Once installed, go to API Credentials to copy the Admin API Access Token.
Setup Data Integration:
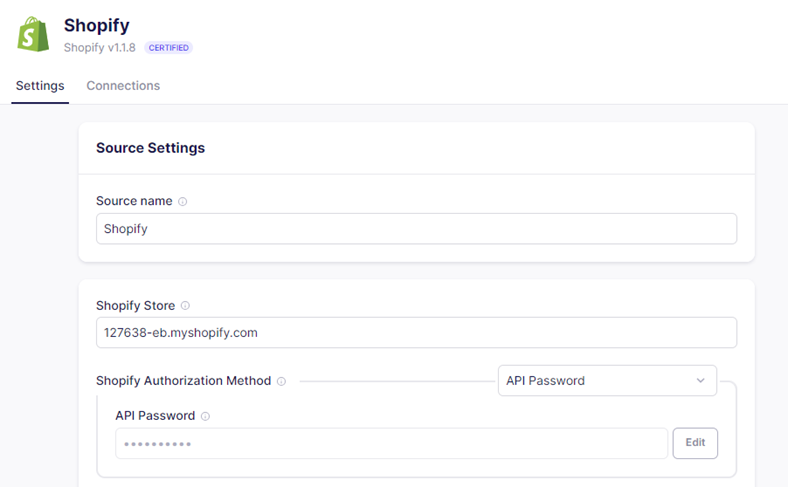
Step 1: Set up Shopify source connector in Airbyte.
From the Airbyte UI, click the Sources tab, then click + New source and select Shopify from the list of available sources and provide the store and API details and set up source connector.
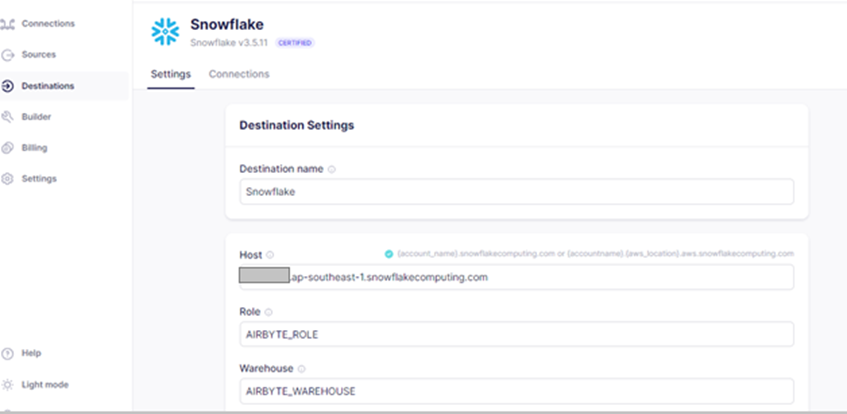
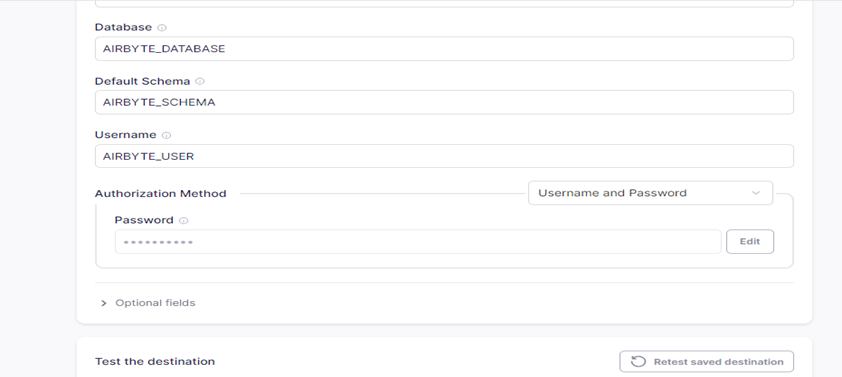
Step 2: Set up Snowflake as a destination in Airbyte.
Enter the details of account identifier in the Host, Role, Warehouse, Database, Schema and User credentials. Make sure that the user has OWNERSHIP permission to write data into Snowflake, track costs pertaining to Airbyte, and control permissions at a granular level. After configuring, test the destination connector.
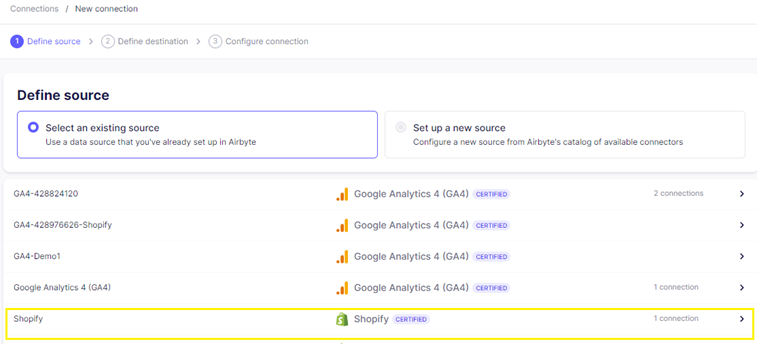
Step 3: Set up Connection.
- Click the new connection in Connection tab.

- Choose the Shopify source connector created.
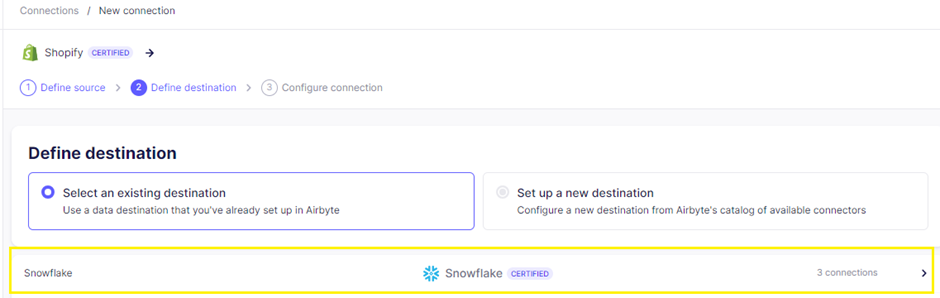
- Choose the snowflake destination connector created.
Step 4: Configure the connection.
- Enter the preferred connection name and data residency.
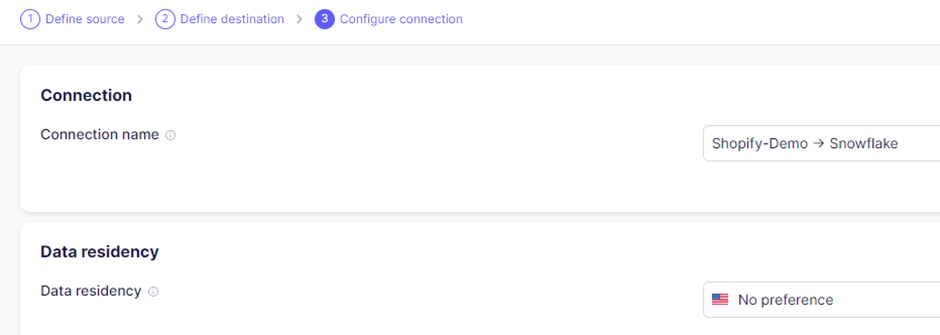
- Enter the preferred Schedule type, Destination Namespace, Destination Stream Prefix and Detect and propagate schema changes. Destination Namespace is the target schema into which the data is to be replicated.

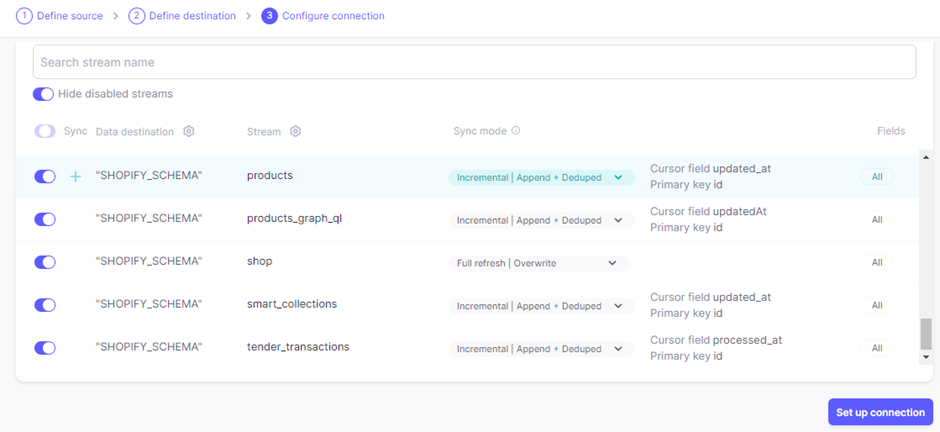
- Set up the Connection by enabling required streams to be synced.
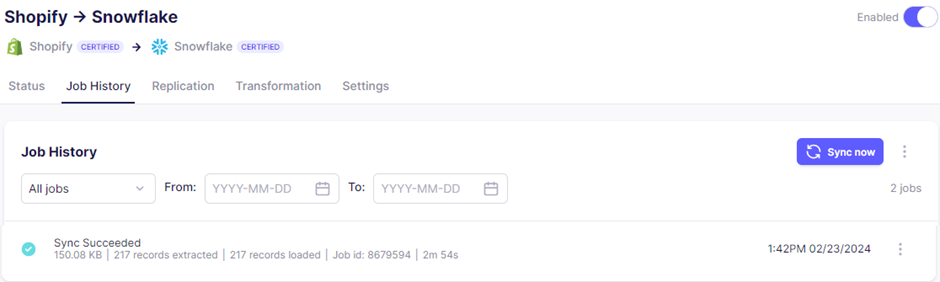
Step 5: Check status of the Job.
Check the status of the connection.
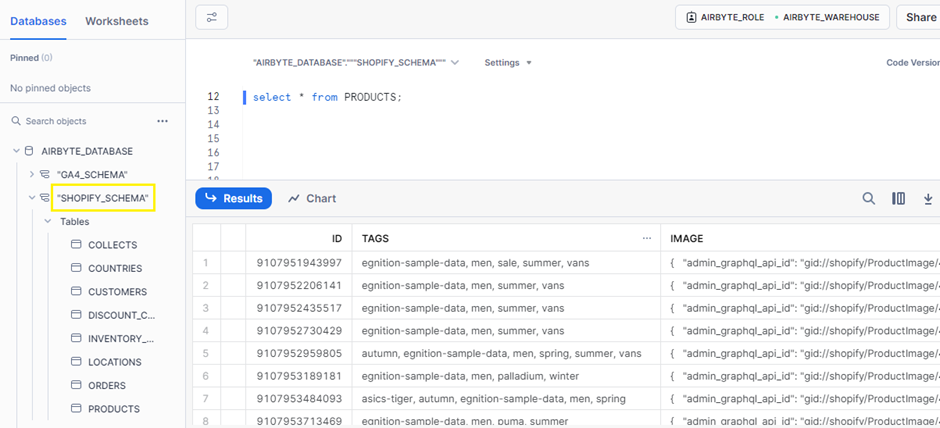
Step 6: Verify data in snowflake.
A new schema “SHOPIFY_SCHEMA” is created in snowflake and data from Shopify streams are loaded into snowflake successfully.
Conclusion:
With Airbyte, creating data pipelines take minutes, and the data integration possibilities are endless. This blog would help to configure a data pipeline to load Shopify data into Snowflake using Airbyte.
Cittabase specializes in modernized data platform implementations and is a proud partner with both Snowflake and Airbyte. We offer a range of services designed to meet your data integration and migration requirements. Please feel free to reach out to us.