- September 12, 2024
- Posted by: Yuvasri Ravi
- Categories:
Introduction
Snowflake Native Apps enable developers to create and distribute applications that run natively within the Snowflake environment. These apps leverage Snowflake’s powerful data processing, security, and scalability features, making them ideal for data-intensive tasks.
Benefits of Combining Native Apps with Snowpark Container Services
- Unified Data Platform
- Scalability and Performance
- Enhanced Capabilities
Snowflake Native Apps with Snowpark Container Services represent a powerful combination for modern data-driven applications. They allow developers to bring complex, custom logic into Snowflake’s environment while benefiting from the scalability, security, and ease of deployment that Snowflake offers. This integration opens up new possibilities for innovation in data-intensive applications, making it easier for developers to build, deploy, and manage sophisticated data applications in the cloud.
Configure prerequisites
- A Snowflake account
- Snow SQL, the command-line client for executing SQL commands
- Docker Desktop
Create Snowflake objects
- Login to Snowflake as a user with the ACCOUNTADMIN role.
- Create a role (test_role) and other Snowflake objects.
- To create the role and objects, use the ACCOUNTADMIN role.

- create a create the Database & warehouse for the Snowflake Native App with Snowpark Container Services


A warehouse is required by the Snowflake Native App to run SQL commands and stored procedures.
- create a Schema, Stage to store your service specification files, Image repository used to store the container

- The role test_role must have the BIND SERVICE ENDPOINT privilege on the account.

- Make sure you are logged in to Snowflake as the user specified in the script

- Using the test_role ROLE, tutorial_db DATABASE, tutorial_warehouse WAREHOUSE, data_schema SCHEMA
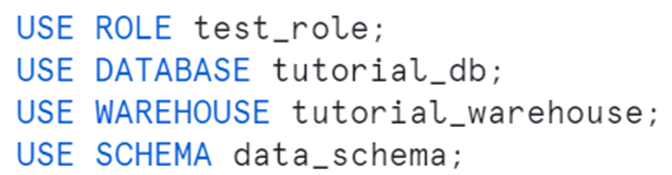
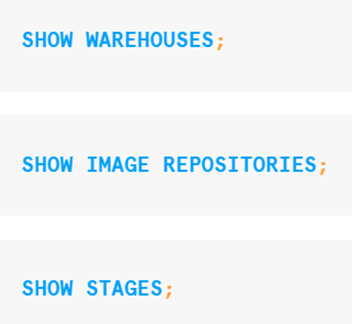
- Verify that you have the objects needed, execute the following commands:
Create and test a service
- Create a service code.
- Build a Docker image for Snowpark Container Services and upload the image to a repository in your account.
- Create a service by providing the service specification file and the compute pool in which to run the service.
- Create a service function to communicate with the service.
- Use the service. You send echo requests to the service and verify the response.
- Service Code
Created a folder SnowparkContainerServices-Tutorials, which contains the following files & folder,
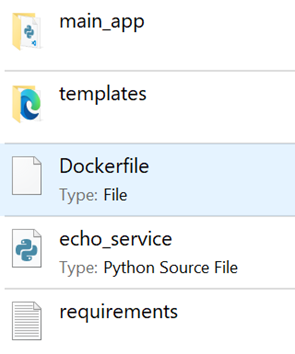
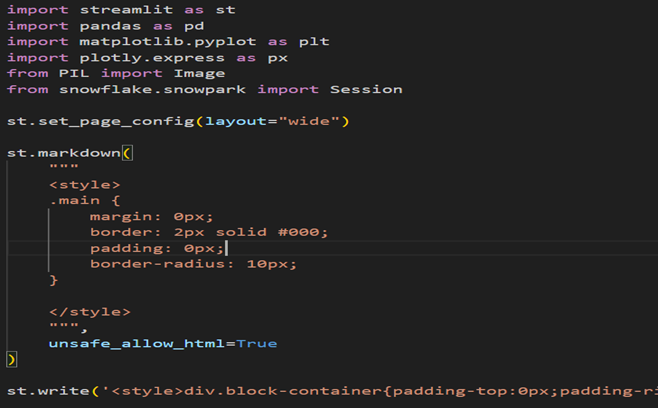
Main_app folder contains the report.py python file
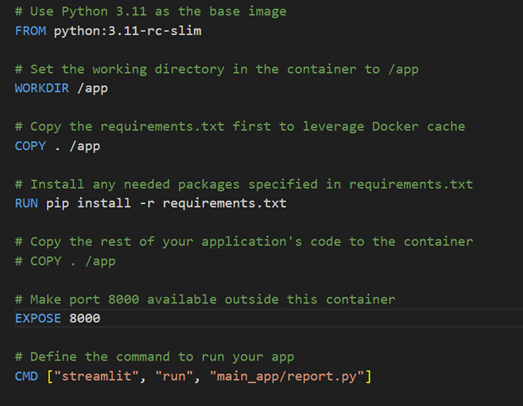
Docker file consists of script as follows:
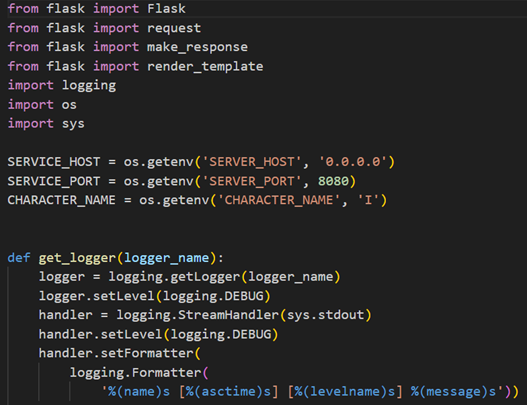
Echo service file consists of scripts as follows:
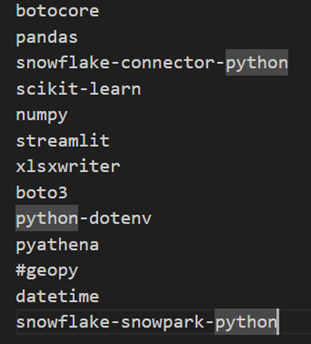
Requirements Text file consists of scripts as follows:
- Get information about the repository
To get the repository URL, execute the SHOW IMAGE REPOSITORIES SQL command,

The repository_url column in the output provides the URL,

The host name in the repository URL is the registry host name

- Build image and upload it to the repository
Open a terminal window and change to the directory containing the files.

Syntax to build the Docker image:

To build a Docker image, execute the following docker build command

Upload the image to the repository in your Snowflake account, For Docker to upload an image in repository, firstly authenticate Docker with Snowflake.
- To authenticate Docker with the Snowflake registry,
Syntax:

For username, specify your Snowflake username. Docker will prompt you for your password,
# docker login hiiwhnq-nc74811.registry.snowflakecomputing.com -u YUVASRI

- To upload the image,
Syntax:

execute the following command:


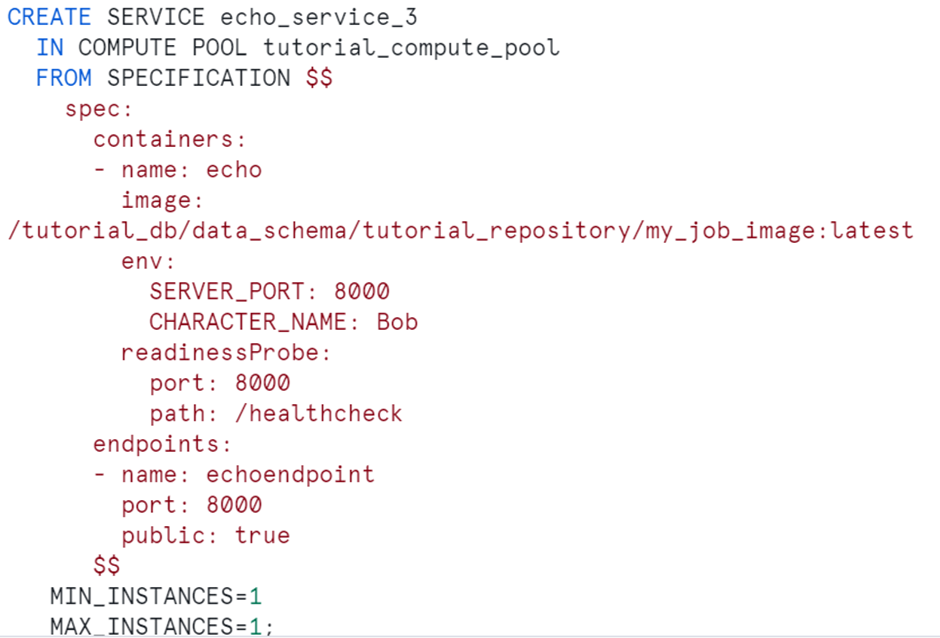
Create a service
To create a service, we need the following:
- A compute pool. Snowflake runs your service in the specified compute pool.
- A service specification. This specification provides Snowflake with the information needed to configure and run your service.
Create a compute pool, is a collection of one or more virtual machine (VM) nodes on which Snowflake runs your services.

Execute DESCRIBE COMPUTE POOL and verify that the state is ACTIVE or IDLE.

If the state is STARTING, you need to wait until the state changes to either ACTIVE or IDLE.
To create the service, execute the following command using test_role
To list services in your account, execute the SHOW SERVICES command:

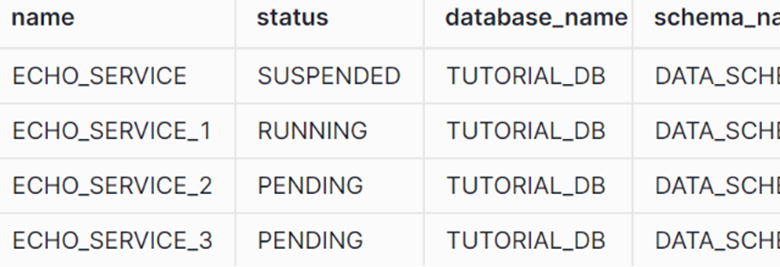
To get the status of your service, call the system function SYSTEM$GET_SERVICE_STATUS:

To get information about your service, execute the DESCRIBE SERVICE command:

To create a service function, execute the following command:

- The SERVICE property associates the UDF with the echo_service service.
- The ENDPOINT property associates the UDF with the echoendpoint endpoint within the service.
- AS ‘/echo’ specifies the HTTP path to the Echo server. You can find this path in the service code (echo_service.py).
Use the service
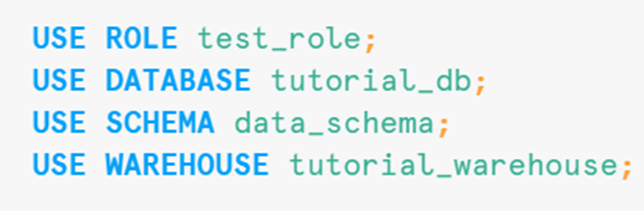
First, setup the context for the SQL statements in this section, execute the following:
Using a web browser: The service exposes the endpoint publicly. Find the URL of the public endpoint the service exposes:

Therefore, you can log in to a web UI the service exposes to the internet, and then send requests to the service from a web browser.

- The ingress_url column in the response provides the URL.
- Append /ui to the endpoint URL and paste it in the web browser.
The first time you access the endpoint URL, you will be asked to log in to Snowflake. use the same user that you used to create the service.
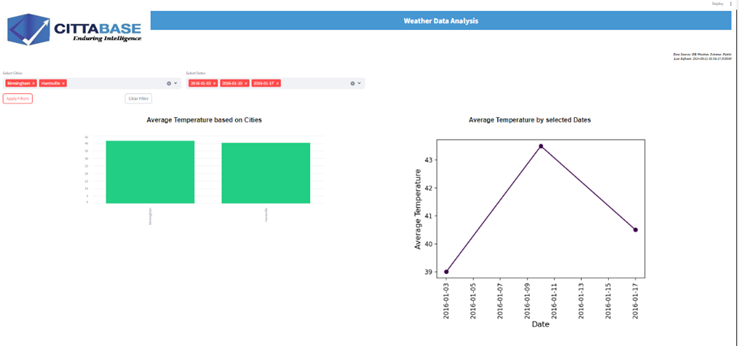
OUTPUT:
Conclusion:
Snowflake Native Apps with Snowpark Container Services represent a powerful combination for modern data-driven applications. Streamlit in Snowflake bridges the gap between data storage and data application development, enabling users to build powerful, interactive data apps with ease.
Please feel free to reach out to us for your Snowflake, Streamlit or AI/ML solution needs. Cittabase is a Select Tier partner with Snowflake.